Thursday, February 24, 2011

Practice with the Quick Selection Tool

I have been practicing with the Quick Selection tool in Photoshop CS5 this week. I kind of look through Flickr to find two pictures with similar lighting condition and reasonable perspective in order to make them look a bit more real after combining.

So here are the two pictures I chose:


http://www.flickr.com/photos/yyellowbird/4640401550/sizes/l/


http://www.flickr.com/photos/benheine/4062190339/sizes/l/

After selecting the girl out, I adjusted the brightness, contrast, saturation and also add a warm color filter to the girl. So she will look more fit in the environment of the second picture. And the final one come out like this:


And here is something else for fun...
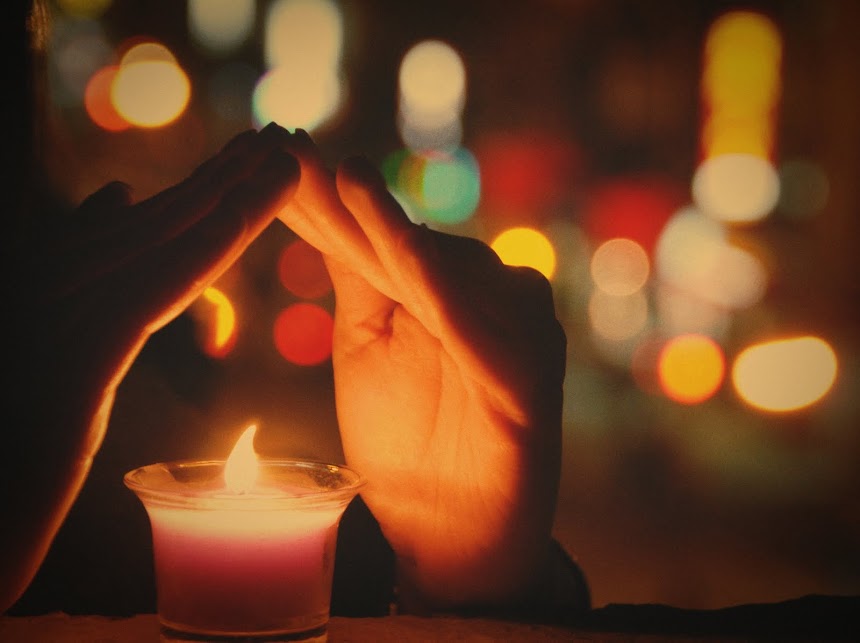


Final:

Wednesday, February 23, 2011

Process Picture with Camera RAW

Had a class about processing pictures with Adobe Bridge and Camera Raw few weeks ago, and I finally sat down and experimented on my own. I chose a picture that I took last month of a cat on the street, which is very under exposed. Let's see if I can make it look better...

Before: I can barely see any details in the picture.
After: After adjusting the exposure, fill light, brightness, contrast and sharpness, the details are mostly recovered.

Wednesday, February 16, 2011

New to Blog

I especially create this blog for my raster/vector graphics class. I will upload more of my work and new findings later on!