Friday, May 27, 2011

Emerging Artists Connect Presents: Photography & Acoustic Showcase!

I am going to have a few picture put up in this show. It's open for everyone who are interested! Here're some info:


This is our VERY FIRST ALL AGES event! (Anyone under 15 will have to be accompanied by an adult.) So come, network, listen to good music check out some awesome photography and eat the famous Waltz Astoria Red velvet cake!! (It is seriously the most delicious cake EVAR!!!)

ALL AGES

$8 Adv. Ticket ($8 @ Door 'Til 7:30)
$10 Door price.


Time
Sunday, May 29 · 6:00pm - 11:00pm

@ Waltz-Astoria
23-14 Ditmars Boulevard
Astoria, New York.


Looking forward to see you guys there!

Thursday, May 19, 2011

Goddess of Nature

I grabbed some pictures from the internet and also used two pictures that I took to do this photo collage...

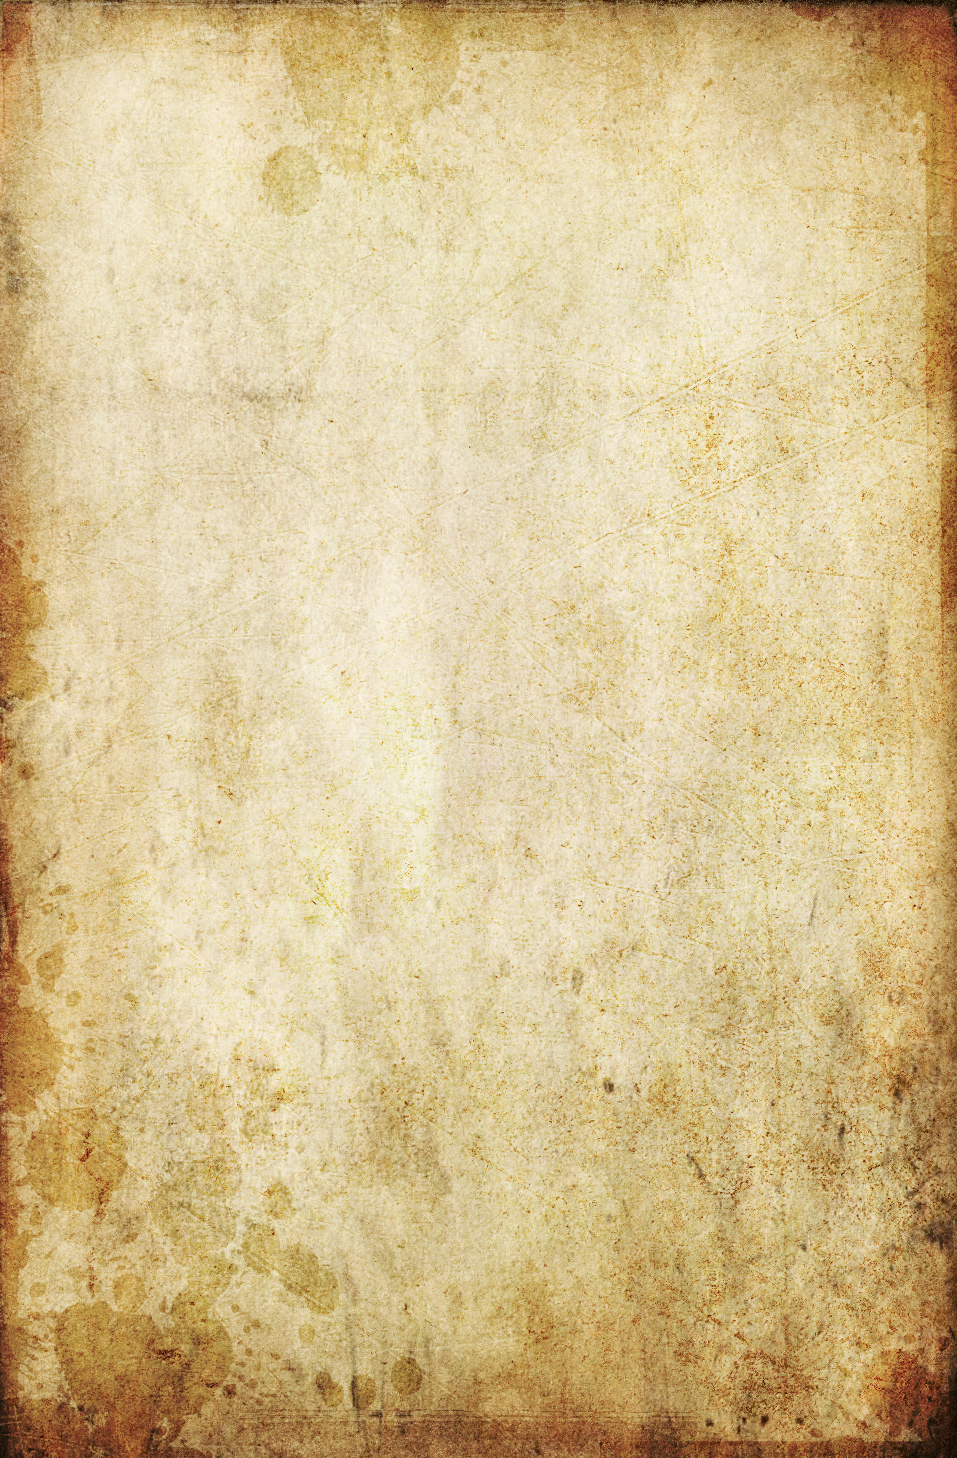
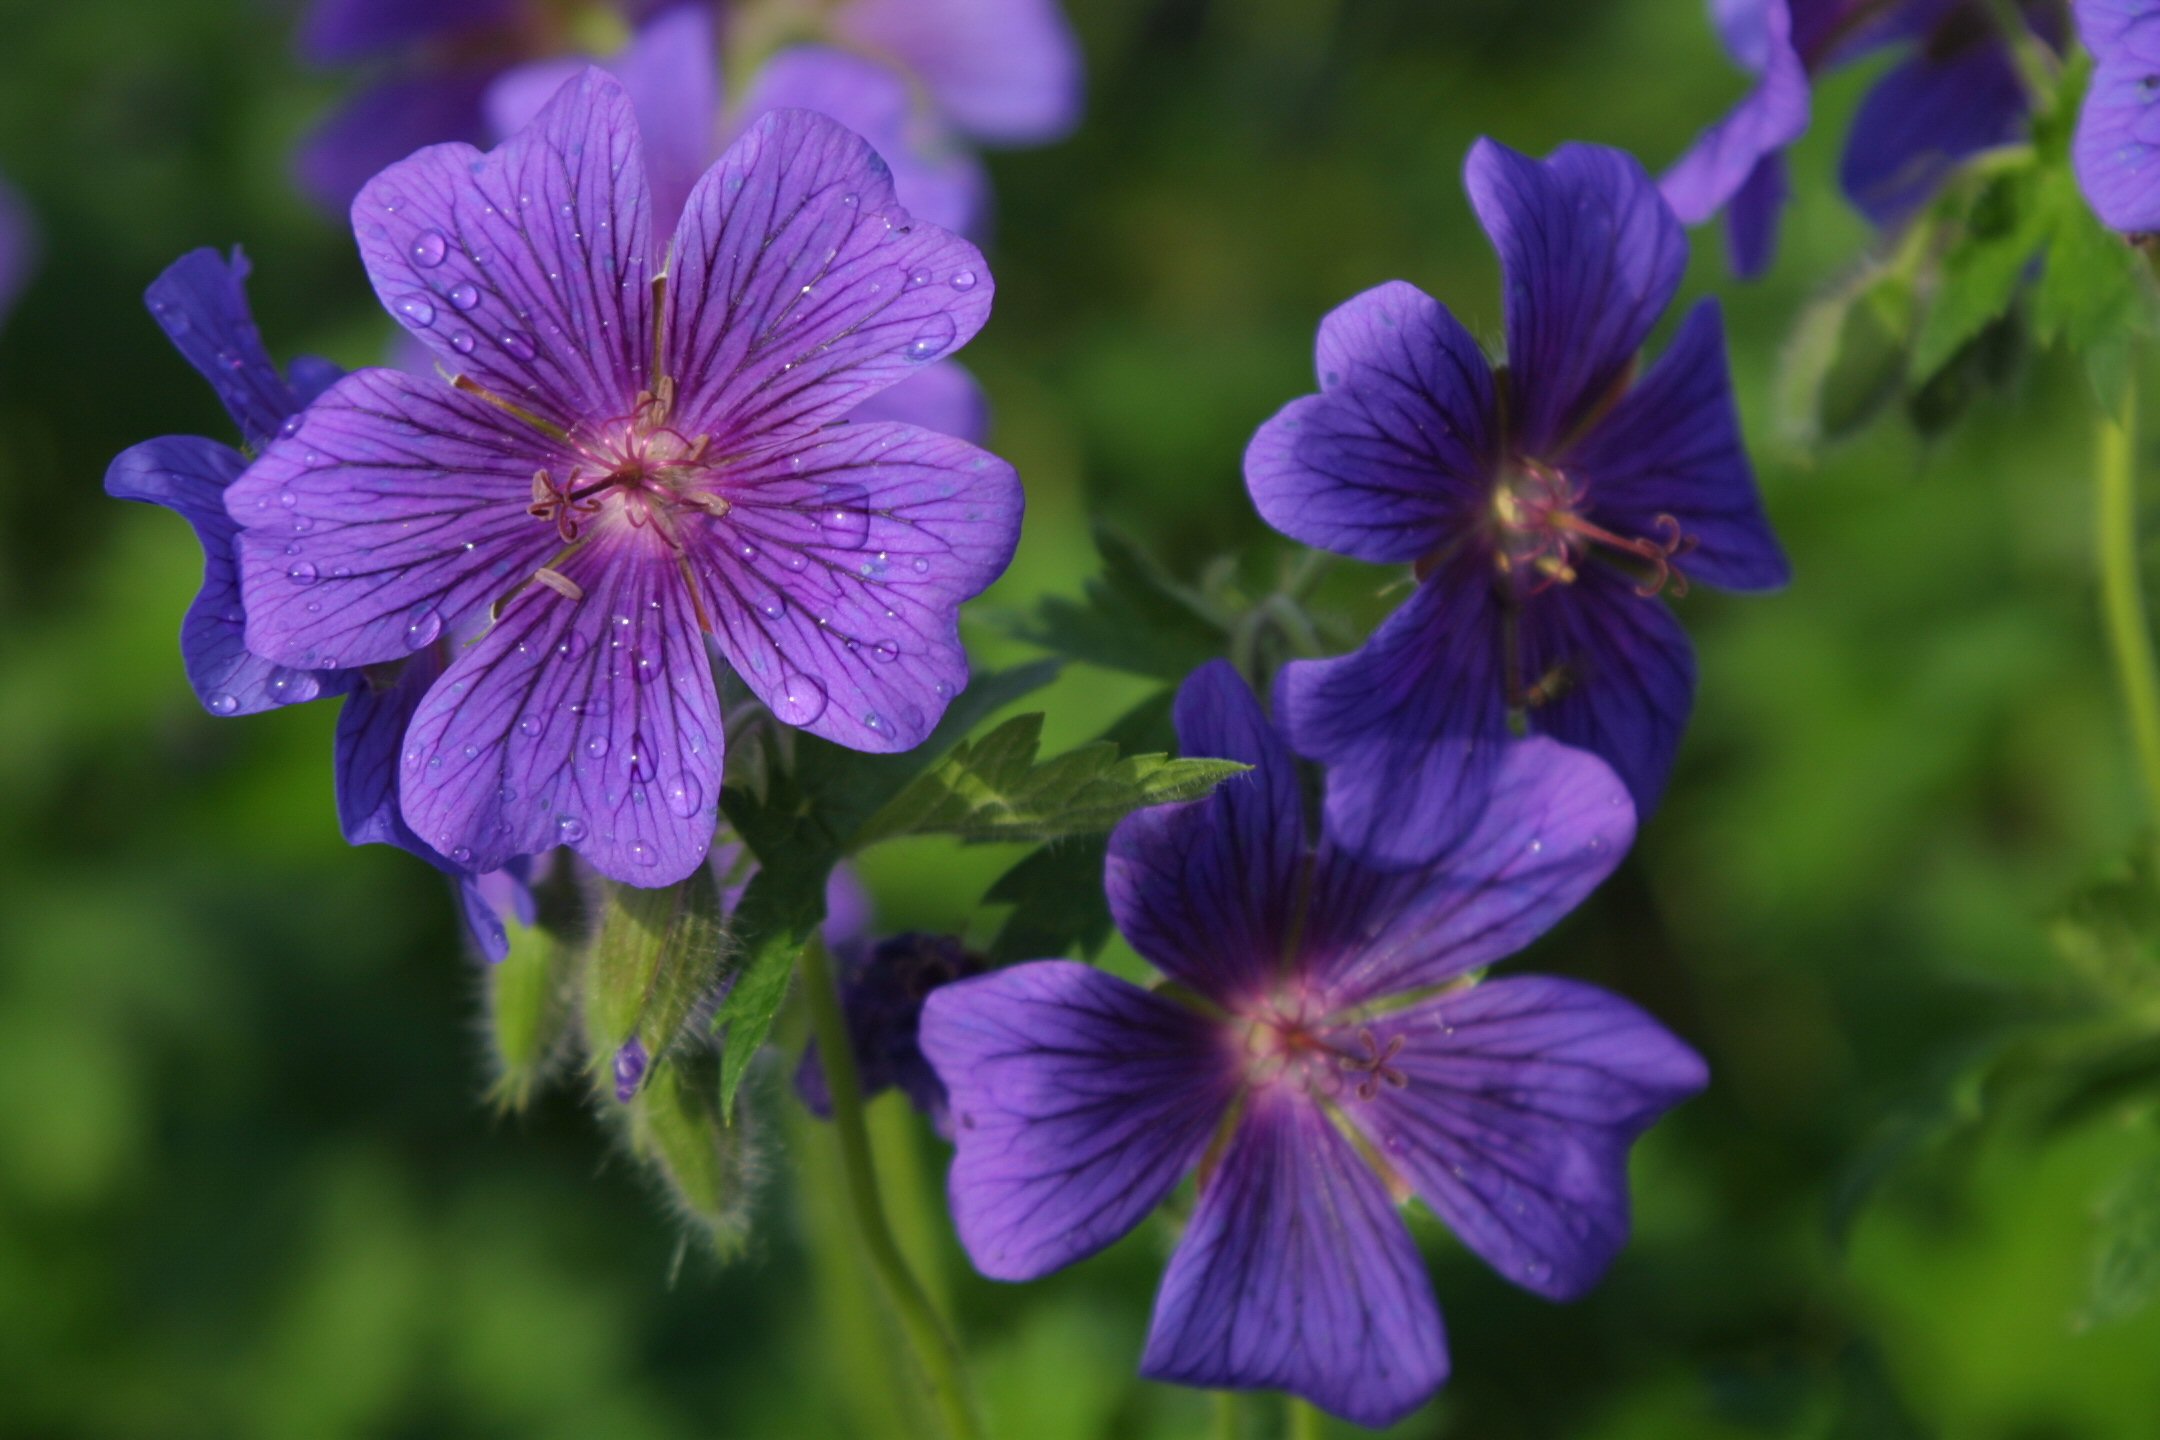
Here I got some picture frame, textures, and flowers images from the internet...

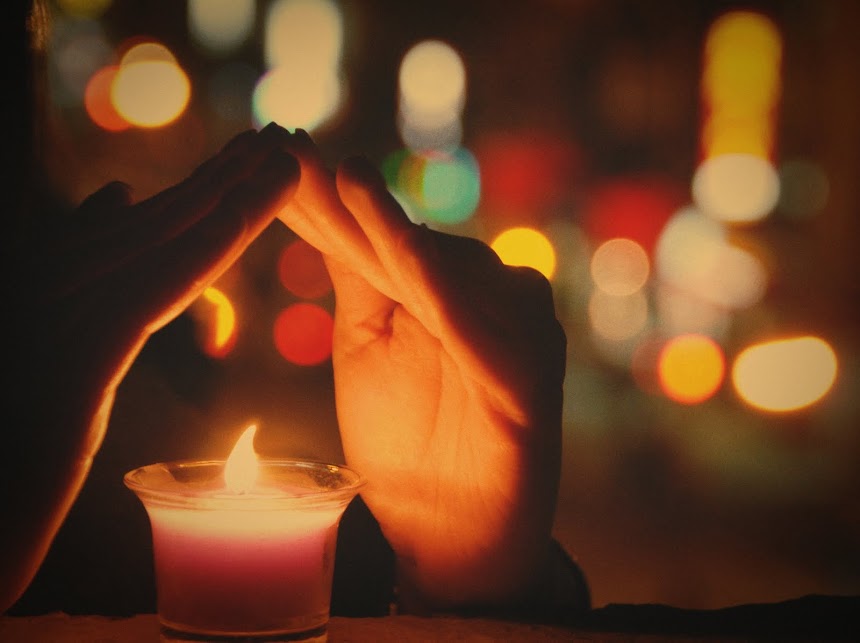
And one picture I took for my friends, and another picture I took on a trip...


1. Open my friend's picture in Camera Raw - adjust color temperature, exposure, fill light, brightness, and contrast

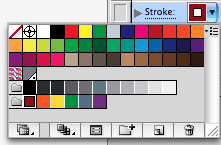
2. Open my friend's image. Select the girl out. Open the picture frame image, and select the frame out, and then drag the selected frame to the girl's image. Adjust their size, and add an brightness/contrast adjustment layer to adjust the girl's brightness.

3. Open the image with many branches. Use Magic Wand to select some branches out.

4. Open the texture image. I'll use it as background.

5. Select my friend's picture with the frame and drag it on top of the texture image.

6. Drag the branches on top of the texture image. Resize them, and also  add drop shadow for them.

7. Make a comp layer, and use clone stamp tool to clone with different opacity on the intersection area of the hair and the branches to make them blend in more.

8. Open the flowers images to select them and place them on the branches.

9. Adjust Hue/Saturation, Photo Filter, and Levels with adjustment layers

10. Make a comp. Add some blank layers with color mode, and use brush to add some colors to the eyelid and lips.

11. Add one more Hue/Saturation adjustment layer with mask to lower down the saturation of the flowers.

12. Add one more layer with the texture to make the whole thing blend in more.

FINAL:

Tuesday, May 17, 2011

Live Painting in Illustrator

We've been learning Live Tracing and Live Painting in Illustrator CS5. Here's my try on it.


I got this montage drawing on the internet, and it was rasterized...


1. Open a new document in Illustrator, and place the file onto it.

2. Go to [Object] --> [Live Trace] --> [Tracing Options]

3. Adjust the tracing options until it looks the way you want.

4. After adjusting tracing options, select the image, go to [Object] --> [Live Paint] --> [Make]

5. Since I want to color it, so I need to close up the small gaps. Go to [Object] --> [Live Paint] --> [Gap Options] --> [Close gaps with paths]

6. Open [SWATCHES], then open [Swatch Library], choose the color palettes you want.

7. Get the Live Paint Bucket to fill in the areas with the color you want.


FINAL:


Sunday, May 15, 2011

Second Part of CD Cover

This is the second part of the CD cover I have been doing. I saved the previous part as PSD file, and place it in Illustrator. Now I am going to render the type in Illustrator. 


1. Type in the the text.

2. Go to "Window", open the "Appearance" panel.

3. Adding new stroke by clicking the black square box at the lower left corner of the panel.

4. Change the color of the stroke by clicking on the arrow.

5. Go to "Window", open "Brush Libraries," select any kinds of brush you want. You can add as many stroke as you want to the text with different colors and point sizes. 

FINAL:

Thursday, May 5, 2011

First Part of the CD Cover

This time, I decided to do a CD Cover for my favorite Japanese artist, Miyavi. So I figure out, instead of creating a story-like cover, a cover with wild watercolor splash fits more into his character. And here we go...


1. Open a new document. Set a gradient overlay background.

2. Experience with different brushes with various sizes, flow, and opacity.

3. Select his upper body out with quick selection tool, and then drag him on top of the brush layers.

4. Add a Hue/Saturation and a Curve adjustment layers as clipping mask to create contrast.

5. Add some more strokes around the body and head.

Here's what I got so far, and I'll add some more vector components and type to it later on.